A sewing machine can look like a tangle of dials and levers, but it is far friendlier than it seems. Learning how to use a sewing machine comes down to a handful of steps you will repeat every time you sew. Here is a calm, first-timer's walkthrough to get you stitching with confidence.
Get to know the main parts
Most machines, whatever the brand, share the same key parts:
- Spool pin — holds your reel of thread on top.
- Bobbin — a small spool of thread that sits underneath and forms the bottom of each stitch.
- Needle & presser foot — the needle does the stitching; the presser foot holds the fabric down as it feeds through.
- Stitch selector & tension dial — choose the stitch type and how tightly the threads pull.
- Hand wheel & foot pedal — the wheel moves the needle manually; the pedal controls speed.
Step 1: Wind and load the bobbin
Wind thread onto the bobbin using the machine's bobbin winder, then drop it into the bobbin case below the needle. This thread forms the underside of your stitches.
Step 2: Thread the machine
Follow the numbered guides printed on the machine to bring the top thread from the spool, through the tension discs, and down to the needle. Then draw the bobbin thread up so both threads sit together under the presser foot.
Step 3: Set your stitch
For your first go, choose a straight stitch at a medium length. The other two stitches you will use most as a beginner are the reverse stitch (to lock the ends of a seam so it doesn't unravel) and the zigzag stitch (to neaten raw edges).
Step 4: Sew your first seam
- Place your fabric under the presser foot and lower the foot.
- Hold the thread tails gently as you start, and press the pedal slowly.
- Sew a few stitches, reverse a little to lock them, then continue forward.
- At the end, reverse again, lift the foot, and pull the fabric free.
That straight, locked seam is the building block of almost everything you will ever sew.
Common beginner hiccups (and fixes)
- Thread bunching underneath? Re-thread the top thread — it usually means it slipped out of the tension path.
- Skipped stitches? Your needle may be blunt or wrongly inserted; pop in a fresh one.
- Fabric not feeding? Check the presser foot is down.
The fastest way to get comfortable
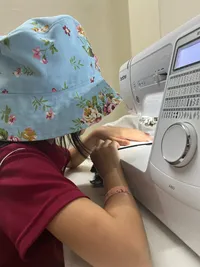
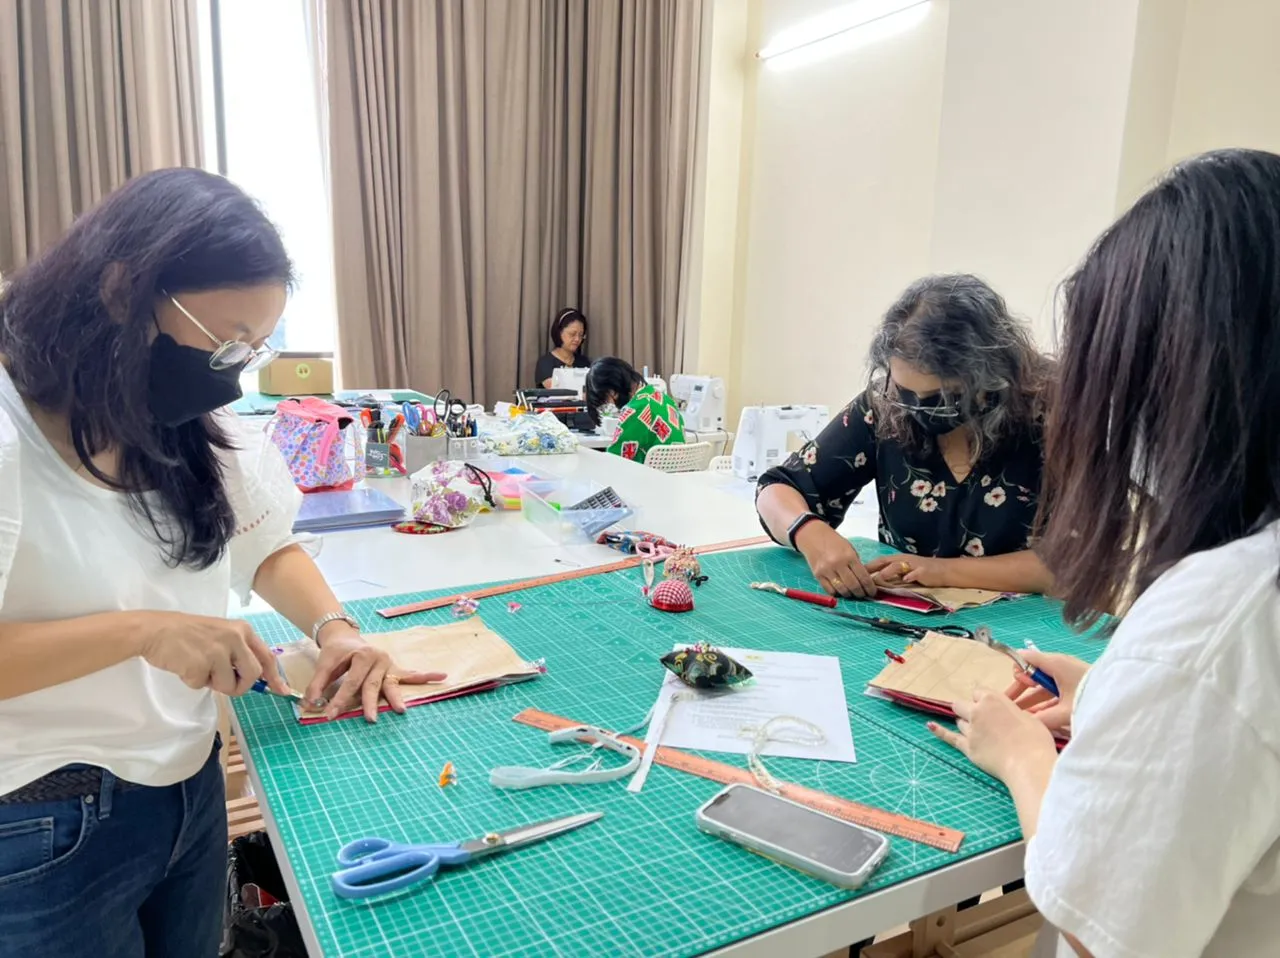
Threading and tension are far easier to learn with someone beside you than from a manual. In our beginner classes at Two Moles, machines are set up and ready, and we guide you through every step in person. If you are planning your learning, start with our beginner's guide to starting sewing, and brush up on a few hand stitches first.
Frequently asked questions
Do I need to buy a machine before learning?
No. In a class, machines are provided — so you can learn (and decide what you like) before buying your own. When you are ready, see our guide to choosing a beginner machine.
Is a sewing machine hard to learn?
Not at all. After an hour or two it starts to feel automatic. The trickiest part — threading — quickly becomes muscle memory.
What stitches will I actually use as a beginner?
Mostly the straight stitch, reverse stitch and zigzag. Those three handle the vast majority of beginner projects.
Want to learn on a machine that's ready to go? Message us on WhatsApp or browse our classes.